

Can You Fix a Hole in a Garden Hose?
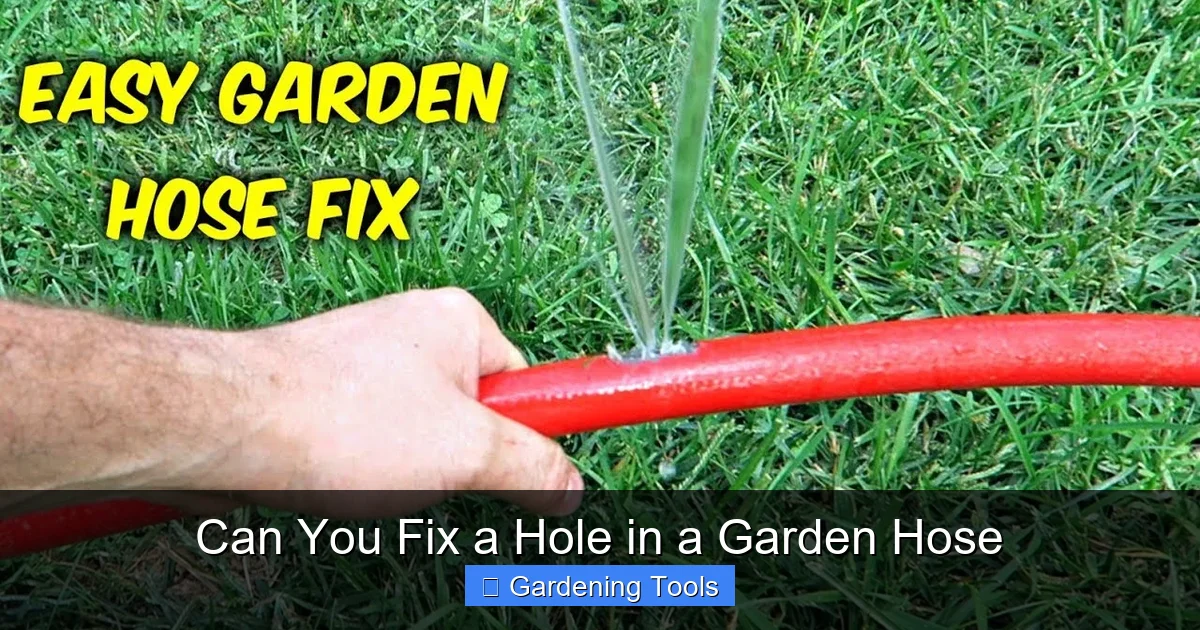
If you find a leak, don’t toss your hose in the trash! Most garden hose damage is easily repairable with simple tools, saving you the expense of buying a new one. By using mending kits or basic patches, you can extend your hose’s lifespan significantly.
We have all been there. You are out in the yard on a sunny Saturday, ready to water your prize-winning roses or wash the car, when suddenly you feel a cool spray hitting your leg. You look down and realize your trusty garden hose has developed a nasty leak. Your first instinct might be to drag it to the trash bin and head to the local hardware store for a replacement. But wait—did you know that fixing a hole in a garden hose is actually quite simple?
Most gardeners assume that once a hose springs a leak, it is destined for a landfill. The reality is that hose repairs are incredibly straightforward and often take less than ten minutes to complete. Whether you are dealing with a tiny pinprick from a stray thorn or a major split caused by running it over with a lawnmower, there is almost always a way to save your equipment. Not only does this save you money, but it is also a fantastic way to practice sustainability in your home garden.
- Assess the damage: Determine if you have a tiny puncture or a large tear to choose the right repair method.
- Select the right kit: Mending kits work best for large ruptures, while tape is great for temporary fixes.
- Preparation is vital: Always clean and dry the surface area thoroughly before applying any adhesive or sealant.
- Trim the hose: Don’t be afraid to cut out a damaged section completely to ensure a clean, leak-free connection.
- Check for pressure: Test your repair by slowly turning on the water to ensure the seal holds under pressure.
- Prevent future leaks: Store your hoses out of the sun and avoid dragging them over sharp edges to prevent future holes.
Understanding the Nature of Your Hose Damage
Before you jump into a repair, you need to identify exactly what you are dealing with. Not every leak requires the same approach. Some problems can be solved with a quick strip of tape, while others require a mechanical repair kit. Taking a moment to inspect the damage will save you time and frustration later on.
The Pinprick vs. The Rupture
If you see water weeping from a tiny hole, perhaps caused by a needle or a small thorn, you are likely dealing with a simple puncture. These are the easiest to fix. However, if the hose has been dragged across sharp concrete or pinched, you might find a larger tear or a split. A large split or a puncture near the hose fitting requires a more robust solution than a small surface patch. If the rubber is brittle or cracking along the entire length of the hose, you might have to accept that the hose has reached the end of its life, but for localized damage, keep reading.
Why Hoses Leak
Understanding why the hole happened can also help you fix it correctly. Often, holes occur because of extreme heat, sun exposure, or being stored while kinked. If your hose is constantly under high pressure and then left in the sun, the internal material eventually gives way. Once you have identified the source of the leak, it is time to gather your materials and get to work.
Temporary Fixes for Minor Leaks
Sometimes you just need a quick fix to finish your gardening chores for the day. If you don’t have a repair kit on hand, there are a few ways to get back to watering without a trip to the store. Remember that these methods are often temporary, but they are effective enough for light tasks.
Using Self-Fusing Silicone Tape
One of the best “secret weapons” for any gardener is self-fusing silicone tape. Unlike standard duct tape, which gets messy and eventually peels off when it gets wet, self-fusing tape bonds to itself to create a permanent, watertight seal. To use it, simply clean the area around the leak, wrap the tape tightly around the hose, and overlap it as you go. It creates a solid rubberized sleeve that can handle a surprising amount of water pressure.
Is Duct Tape or Electrical Tape Effective?
Many people reach for duct tape when they see a leak. While this might stop the water for a few minutes, it is rarely a long-term solution. The adhesive on duct tape will eventually fail when exposed to water, and you will be left with a sticky, wet mess that is even harder to repair later. Electrical tape is slightly better because of its elasticity, but it still lacks the durability required for outdoor water pressure. Use these only if you have absolutely no other options and expect to perform a better repair as soon as possible.
The Professional Way: Using a Hose Repair Kit
For more serious tears or holes that keep returning, a garden hose repair kit is your best friend. You can pick these up at any home improvement store for just a few dollars. These kits usually include a mending connector or a replacement male or female end. This is the most reliable way to fix a hose, as it effectively replaces the damaged portion with a new, reinforced section.

Replacing a Damaged Section
If the hole is in the middle of your hose, you will need a “mender” kit. This kit consists of a metal or plastic tube that acts as a bridge between two cut pieces of hose. Here is the process: First, cut the hose cleanly on either side of the hole using a sharp utility knife. Make sure your cuts are straight. Then, slide the hose clamps from the kit onto both ends of the hose. Push the two ends of the hose onto the connector barbs until they meet in the middle. Finally, slide the clamps over the area where the hose covers the barbs and tighten them firmly with a screwdriver.
Fixing Damaged Hose Ends
Often, a hose will leak right where it attaches to the spigot or the nozzle. This is usually due to the internal washer wearing out or the metal threads getting stripped. You don’t need to replace the whole hose for this! You can buy a male or female end replacement kit. Simply cut off the old, damaged end, slide on the new replacement end, and tighten the collar. It feels like getting a brand-new hose for a fraction of the cost.
Tips for a Long-Lasting Repair
Once you have finished your repair, you want to make sure it holds up. A few simple habits will ensure that your patch lasts for the rest of the season and beyond. Improper maintenance is the number one reason repairs fail, so pay close attention to how you treat your hose after fixing it.

Dry Before You Apply
The biggest mistake people make is trying to patch a leaking hose while the water is still active. Even if the water is off, the surface is often slick. Always take a dry cloth and wipe down the hose before applying tape or glue. Any moisture on the exterior will prevent adhesives from sticking, leading to a weak patch that will pop off the moment the water pressure rises.
Avoid Over-Tightening
When using metal hose clamps, it is easy to think that “tighter is better.” However, if you overtighten the clamp, you risk crushing the hose material or stripping the screw. Tighten the clamp until it is snug and the hose is secure on the barb, but do not force it beyond that point. If the water is still leaking after you have tightened it, the hose might be too old or the clamp size might be wrong.
Preventing Future Hose Problems
The best way to fix a hole in a garden hose is to never let it develop in the first place. By changing how you store and handle your hoses, you can significantly reduce the amount of damage they sustain over time. Gardening is all about working with nature, and that includes taking care of your tools.
Proper Storage Techniques
Never leave your hose coiled tightly in the sun. The ultraviolet rays from the sun cause rubber to break down, harden, and eventually crack. Always store your hose in a shaded area or use a hose reel. A hose reel is a great investment because it keeps the hose off the ground, preventing it from being accidentally stepped on or run over by a lawnmower.
Managing Water Pressure
Always remember to turn the water off at the spigot when you are done using the hose. Leaving a hose under constant pressure puts unnecessary strain on the seams and the patches you have made. By turning off the tap, you release that pressure and allow the hose material to relax, which goes a long way toward preventing pinhole leaks from expanding into large ruptures.
Conclusion
Learning how to fix a hole in your garden hose is a rite of passage for every gardener. It empowers you to take control of your equipment, saves you money, and prevents unnecessary plastic waste. Whether you use a simple wrap of self-fusing tape or install a sturdy metal mender, the process is quick, satisfying, and effective. The next time you see a spray of water shooting across your lawn, don’t panic. Grab your tools, follow these steps, and get back to enjoying your beautiful garden with a hose that is as good as new.
Frequently Asked Questions
Can I use super glue to fix a pinhole leak?
While super glue might work for a second, it is not flexible enough to handle the expansion and contraction of a garden hose. The glue will crack almost immediately when the hose is bent, leading to the leak returning quickly.
Is it worth fixing an old, brittle hose?
If the rubber has become hard, cracked, or is crumbling, it is likely time to recycle the hose instead of repairing it. Repairs work best on hoses that still have some flexibility and structural integrity.
How do I know what size mender kit to buy?
Most standard residential garden hoses have a diameter of 5/8 inch. Always check the label on your hose or bring a small piece of the cut hose with you to the store to ensure a perfect match.
Do I need special tools to fix a hose?
In most cases, you only need a sharp utility knife and a screwdriver. Some heavy-duty kits might require pliers, but generally, standard household tools are more than enough to get the job done.
Can I fix a leak that is right at the metal connector?
Yes, you can buy replacement end kits that allow you to cut off the old, damaged connector and install a brand-new male or female end. This is a very common and effective repair.
How long should a hose repair last?
A properly installed mender kit can last as long as the rest of the hose itself. Temporary tape fixes usually last a full season if applied correctly to a dry, clean surface.


